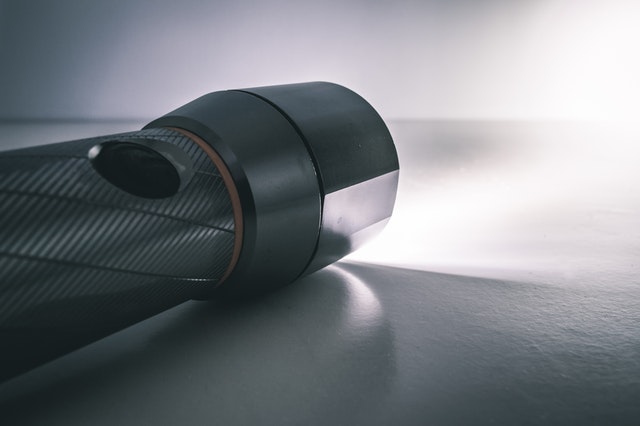
Unless you do proper maintenance to ensure flashlight top condition, certain problems are bound to happen.
One of them is corrosion. Almost all flashlights are vulnerable to corrosion and rust. Unfortunately, this happens to the exterior as well as interior. If left unattended for too long it could make your flashlight useless.
If you bought a new flashlight for your car, garage, home, or even for camping, don’t worry. It’s easy to maintain and keep it rust-free. In this article, I will share with you a few actionable steps for protecting your flashlight. I will also show you the main problems that affect most flashlights.
Thanks to technology, today’s LED flashlights have a long lifespan, some even exceeding 50,000 hours of use! But it’s very sad that many flashlights die before they even get to half this lifespan because of avoidable problems like corrosion.
Here are key points that you should know about how to take care of a flashlight.
Regular inspections
Do not assume everything is fine just because your flashlight produces a beam of light when you switch it on. The first step towards flashlight maintenance is to do deliberate regular inspections.
Inspect the exterior
It is easy to spot any damage in the exterior. A visual inspection is going to be enough. You should also work the on/off switch a bit to see whether it works as it should.
Check for rust on the body of the flashlight. Most flashlight bodies are made of aluminum or steel. If the exterior is dirty and caked with grime and grease, clean it thoroughly. I will explain how to clean a flashlight later on in this article.
Check the glass cover for the head. You will be looking for grime, clouding, dust, cracks and other deformities. These hinder the power of your light beam. In return, this hinders how well the flashlight illuminates things at night. Even a casual inspection should reveal any deformities in the glass.
Inspecting the interior
When it comes to the interior, you have to be keener and more cautious. First, check the threads (where head joins body) and clean them with a toothpick or a pin if they are caked with grease and grime.
Check the battery compartment for any rust. This is easy to see since the indication of rust is brownish coloring. When you take the cap off, it will be easy to see the interior of the battery compartment. Check the battery contacts for corrosion.
Check the O-ring to ensure that it is not cracked. If it is, you will have to buy a new one for replacement. Luckily, they are affordable and they last a long time. O-rings are good for keeping water, mud, grease and other nasties from getting to the interior of the flashlight.
You also need to check the bulb mechanism to ensure that the LED lamp sits properly in its place.
Clean the exterior
Now that you have identified all the things that you need to take care of on the exterior, it is time to clean up. It is not too hard, and it should not take too much of your time, especially if you keep your flashlight in top shape all the time.
First, get rid of the superficial dirt on the exterior. For example, if you have been camping with the flashlight, it is bound to have some spots of caked mud. It is also possible to have plant and grass stains on the exterior. Grease, grime and even rust are also common on the exterior.
You will need alcohol pads, a small brush with soft bristles and a grease cleanser. These are good for removing any grime on the exterior of the flashlight. The alcohol pads alone are going to be enough for regular plain surfaces. However, if your flashlight has a knurled surface on the exterior, you can use the brush to clean it up.
The lens also makes part of the exterior. If there are no scratches, just a wipe will be good, and the lens will be left looking as good as new. Many flashlights come with a scratch-resistant lens. It is important that you keep it clean all the time for proper illumination.
Since most flashlights have metal on the exterior and in the interior, rust can be a constant issue. However, the exterior is usually coated for protection, making it corrosion resistant. However, do check it thoroughly all the same to ensure it is rust-free. If there is rust, clean it with alcohol pads.
If there is no rust on the exterior, you can just clean it with a damp cloth.
Clean the interior
Just like the exterior, cleaning the interior is also very important for ensuring flashlight top condition. It is recommended that you clean the exterior of the flashlight when it is intact so that you do not miss anything. When cleaning the interior, you will need to take it apart.
You also need to remove the batteries and remove any visible dirt on them with the alcohol pads. You should also use the alcohol pads to clean down the battery tube. However, since your hand cannot fit in the battery tube, you can use a Q-tip, but make sure that no fibers are left in the tube.
When you open the end cap, check whether the threads are ok. If they have grime, remove it with a toothpick or an old toothbrush. Check the contacts and the spring – the place where the batteries touch. If there is any corrosion, remove it. You can use a cleaner that is specially formulated for removing corrosion.
Battery Maintenance
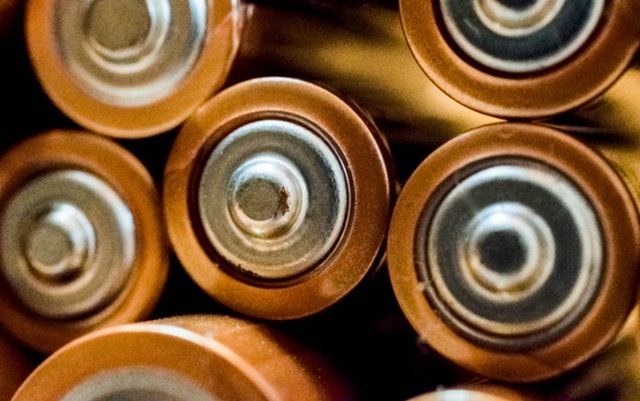
Flashlight care and maintenance must include the care for the battery. Ensure the batteries are not leaking (if your flashlight uses alkaline batteries). If they are, you will have to do more cleaning work.
Here is how to go about maintaining the batteries:
Check for corrosion
Wear a pair of gloves if you suspect the batteries could be leaking. You can unscrew the battery cap and remove the batteries. If the batteries are corroded, they could be a little hard to come out and they may require you to pry loose with a pair of needle nosed pliers. We have already discussed how to clean the battery tube and contacts in the previous segment.
If the battery has been in the flashlight for a long time and it is leaking, you will need more precaution. You may even need eye protection since the leaking acid damages anything it comes into contact with. If you had to clean corrosion from inside the flashlight, then the batteries are definitely corroded.
Clean the leads
If the battery leads are corroded, you should clean that out first. Usually, when battery terminals corrode, they form white solid residue, and we say they have oxidized. You can moisten a cotton swab with vinegar and clean the tips of the terminals until all the corrosion is gone.
Keep it charged
When the flashlight is not in use, keep the battery charged to full capacity. This is important because you can use the flashlight at short notice knowing that it is ready for use. However, this also protects the battery.
As a rule of thumb, it is always good to charge the battery before it gets any lower than 20 percent. When traveling, you can always carry a portable charge to keep your flashlight batteries charged to full capacity. If the battery goes dead, charge it as soon as possible. You should never let a flashlight battery go completely dead.
Replace when expired
Flashlight batteries have expiry dates, but most people do not care to check them. Buy new batteries as soon as the old ones expire. When replacing the batteries, it may also be a good time to replace other things such as the bulb if there is need to.
Check the glass
The glass cover on the head is very important for the beam projection. If it is scratched, has grime and dust collected over it, it will not project the best light. That defeats the purpose of having a flashlight.
Check the glass for physical damage such as cracks, scratches and others. If it is cracked, chances are you have to replace it. It not only helps in the light projection but it is also important for protecting the bulbs or LED lamp.
If the glass is not scratched, just use a damp cloth to clean it. Just like a camera lens, you will get better light quality when the flashlight lens is crystal clean. You may also get lens-cleaning fluid from the store to help you restore the glass to its original form.
Check whether the glass is clouding, especially when the weather turns. This is one of the challenges of many flashlights. A clouded lens is going to distort the projection of the light. To prevent it, some people say you can put a tiny amount of lip balm on the lens. However, a lens cleaner should do a good job of getting rid of the clouding.
Lubrication
This is the final stage in flashlight maintenance. You should be prepared to get the best flashlight lube from the store. The importance of the lube is to make sure that the threaded parts of the flashlight unscrew without any trouble.
Lubrication also enhances the life of the o-rings. You may find out from the manufacturer the kind of lube that is recommended for use with your flashlight. However, it is possible to find a one-size-fits-all product that is good for any flashlight. If the flashlight lube is silicone-based, it’s good for your light.
The process
Do not apply a thick layer of the flashlight lube. Use it conservatively and apply it thinly. However, you may apply more on the O-rings. Just ensure that some lube gets behind the O-rings so that they can be fully lubricated. If you have bought a new O-ring for your light, cover them fully with the lube before you put them back on.
When applying your lube on the threads, apply it thinly but make sure that it spreads all over the threaded surface. However, you also need to apply the lube over the entire surface of your flashlight. Most flashlight casings are made of steel or aluminum and therefore you need this lube to keep rust away.
Conclusion
If you follow the steps above, you will keep your flashlight in tip-top condition. Now the only question is how often you should take care of your flashlight. For flashlights that are used sparingly, two times a year is adequate. However, if you use the flashlight quite often, at least four times a year is recommended.


